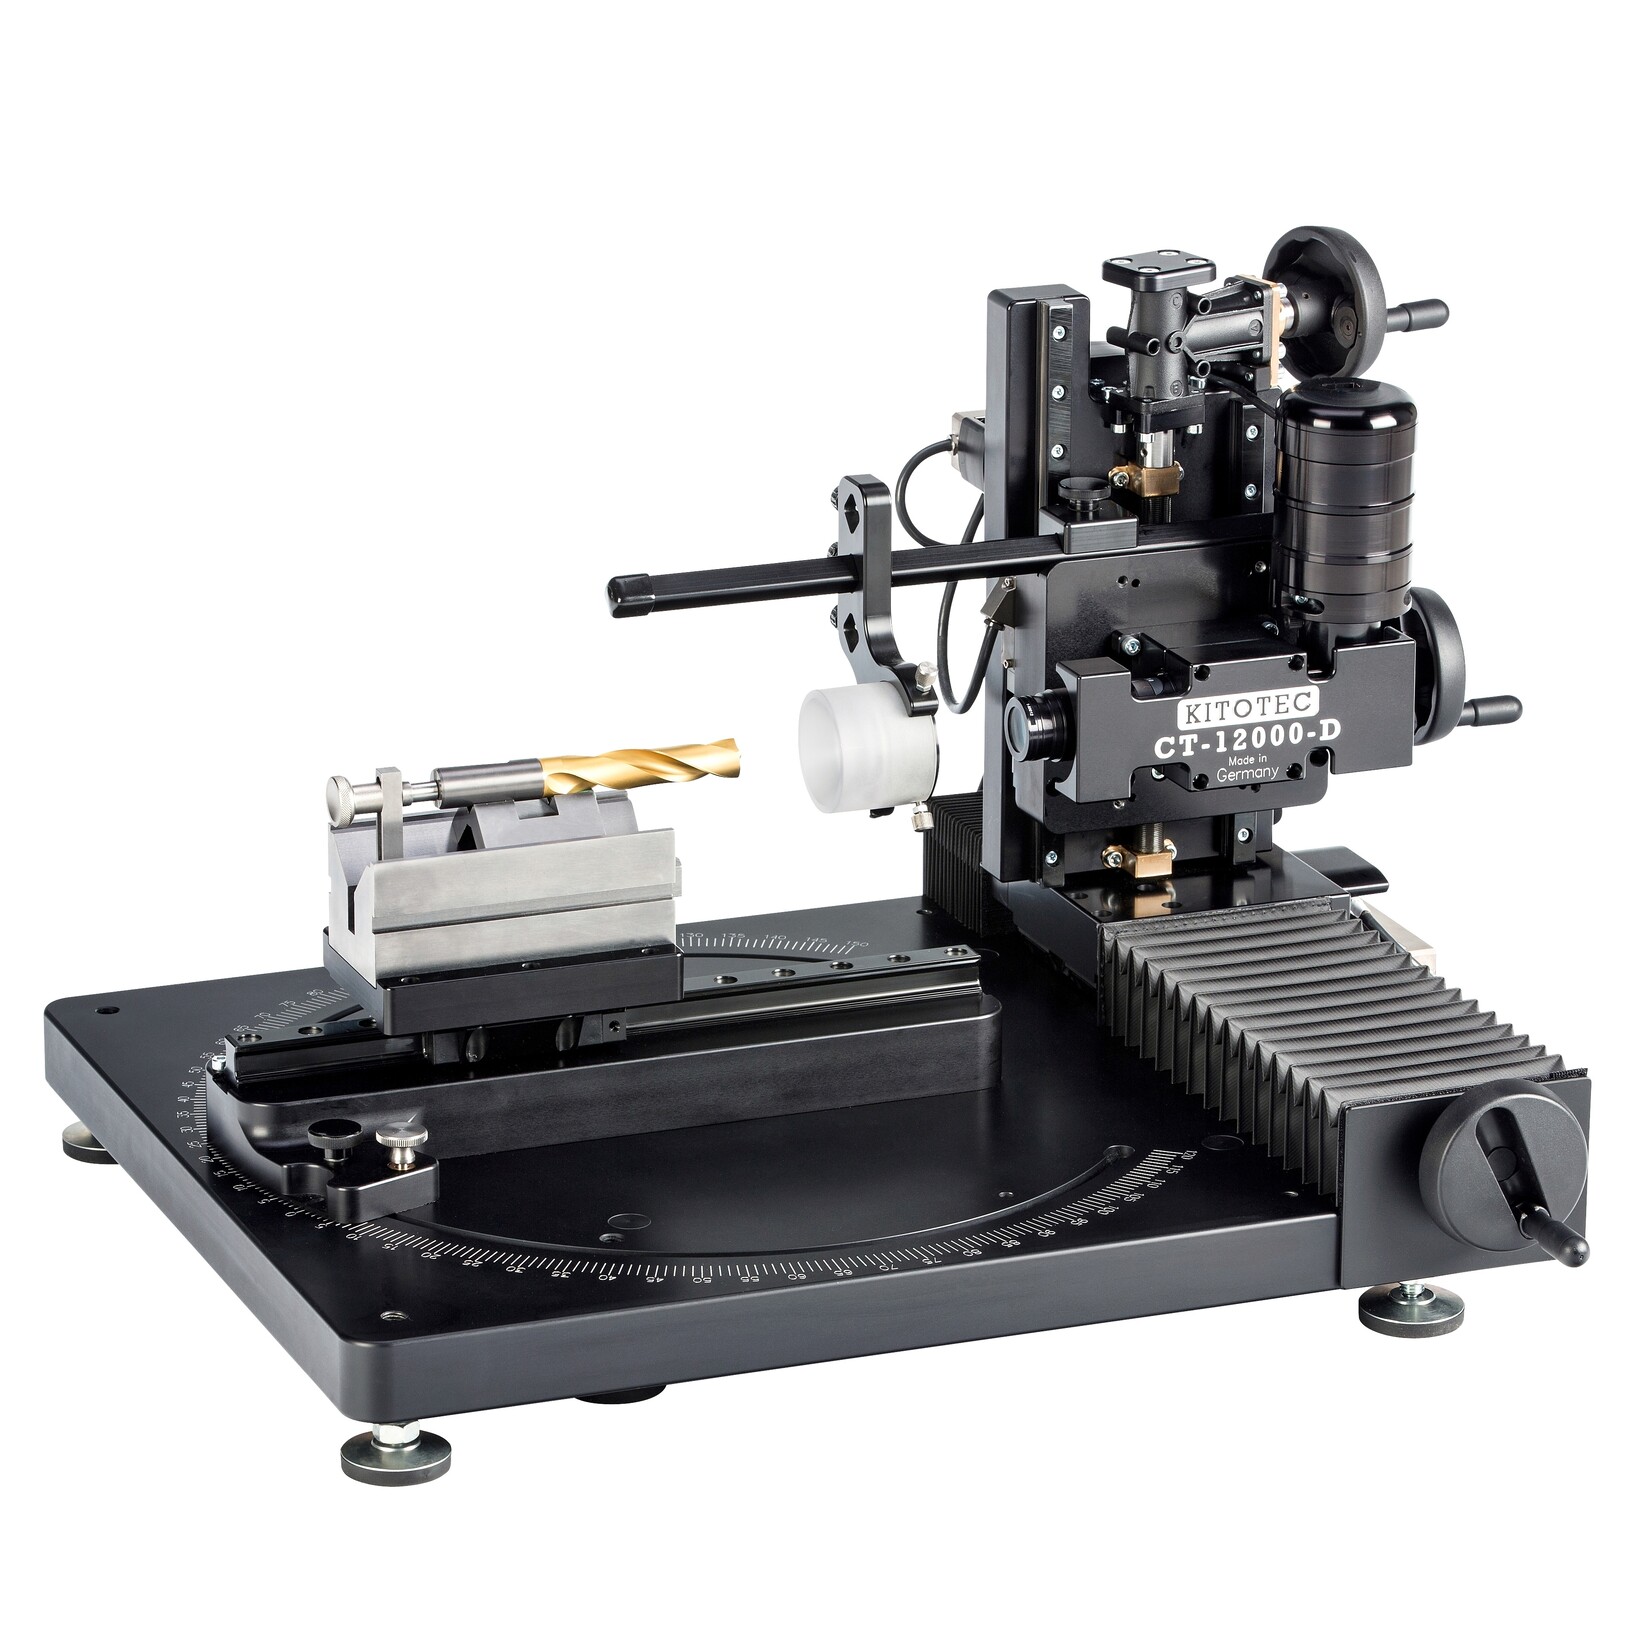
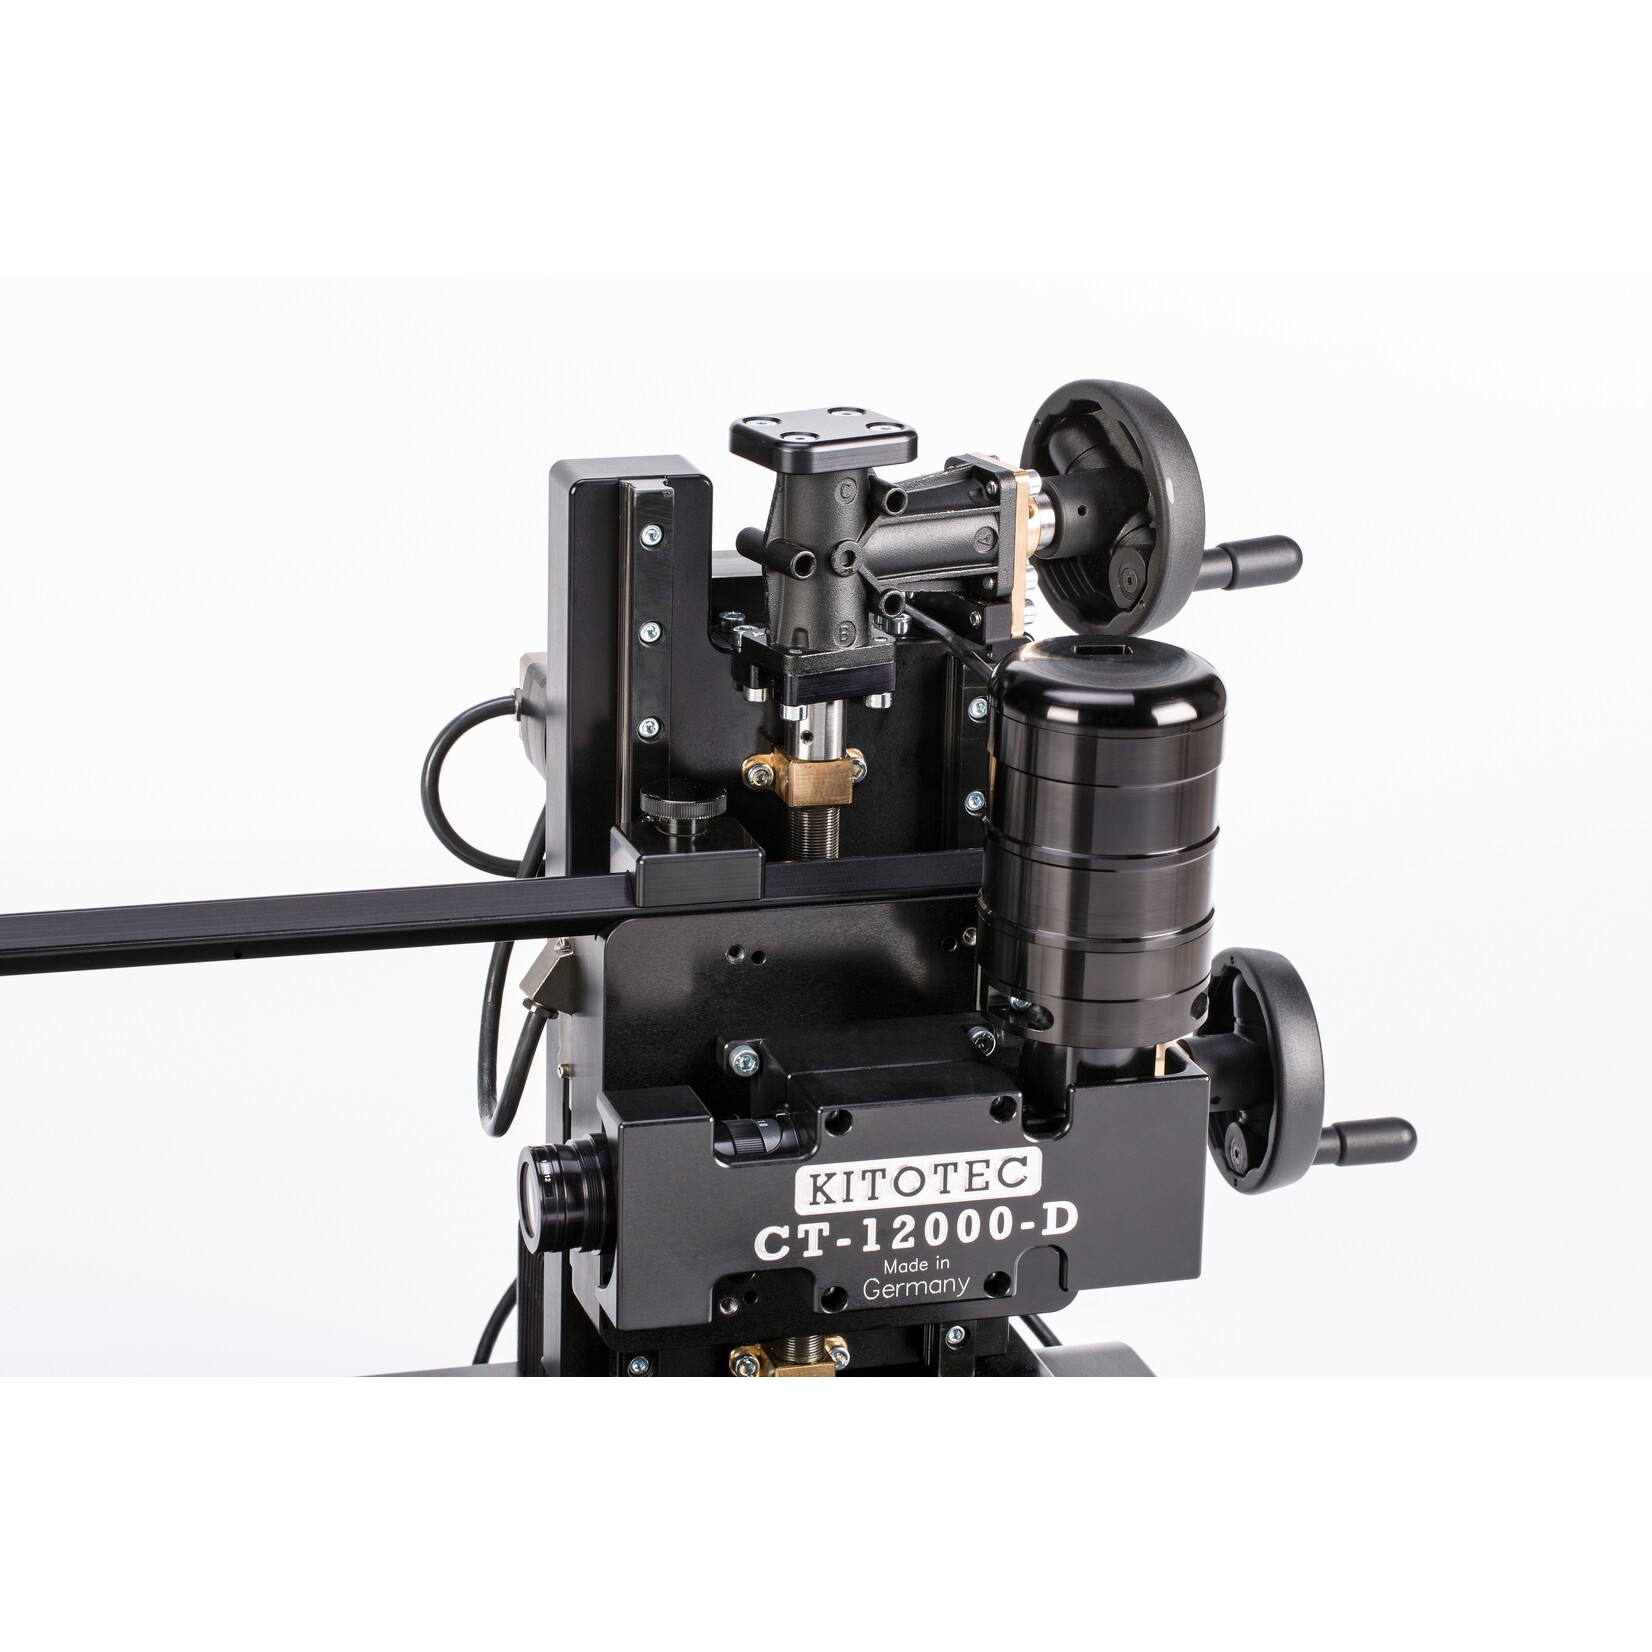
CT-12000-D: The universal device for all applications. Measuring length in the Y-axis 250 mm with ball screw drive. The Z-axis offers a measuring range of 170 mm. Double guide systems in all axes. Can be swiveled through 280 degrees with a 300 mm movable mounting plate. Included in delivery: measuring software, steel prism with rear stop and steel insert prism, LED cold light source, split ring light with diffuser and parallel rear light and LED double gooseneck light guide, PC with 4K monitor.
The optics: This model uses a motorized 10-step zoom system. At the highest zoom level, the optics are adjusted to the object. The user can now work with precise focus across the entire zoom range without the need for readjustment. The CT-6000-D model is supplied with a 0.5x attachment lens. Removing this attachment lens doubles the magnification of the zoom system in ten steps. Additional attachment lenses are available as options for much higher magnification, for example for micro drills. The zoom levels are automatically changed using hotkeys. A USB 3 color camera with an optimal 5.6 megapixels is used as the camera.
Lighting: The illumination of the tools must be perfect. That is why we work with an LED cold light source that can generate 1,300 lumens. The split ring light with diffuser produces an extremely homogeneous, low-reflection image. We use parallel lighting in blue as the rear light, which ensures that the light does not “creep” around the tools.
Calibration: The software is already calibrated on delivery using a certified calibration disc. The advantage for you is that you no longer need us to check the calibration – no service costs. This check can be carried out in a few minutes and is documented in a corresponding report for your quality management system.
The software: Metric, which can be switched between 35 languages, offers many standard functions as well as more than 40 manual or automatic special measuring functions for tools. It is supplemented by automatic edge detection and image processing functions, all of which can be used for tool measurement. Special functions for measuring the pitch of cooling channels in raw bars offer an additional option for precise control of the manufacturing processes. All functions can be assigned to hotkeys. In addition, it is possible to assign a separate combination of hotkeys with the zoom levels and the corresponding lighting parameters to the hotkey levels for the incident light and the reflected light. This saves a lot of time and allows you to assign the measurement functions that can be used for the respective type of lighting.
Updates: Free updates guarantee that you, as a customer, will not incur any expensive follow-up costs. Our download system makes you independent of our working hours. The latest drivers for the cameras and video clips in the help section will support you even years later.
The measuring systems: We use guides of the highest precision class with integrated measuring systems made in Germany.
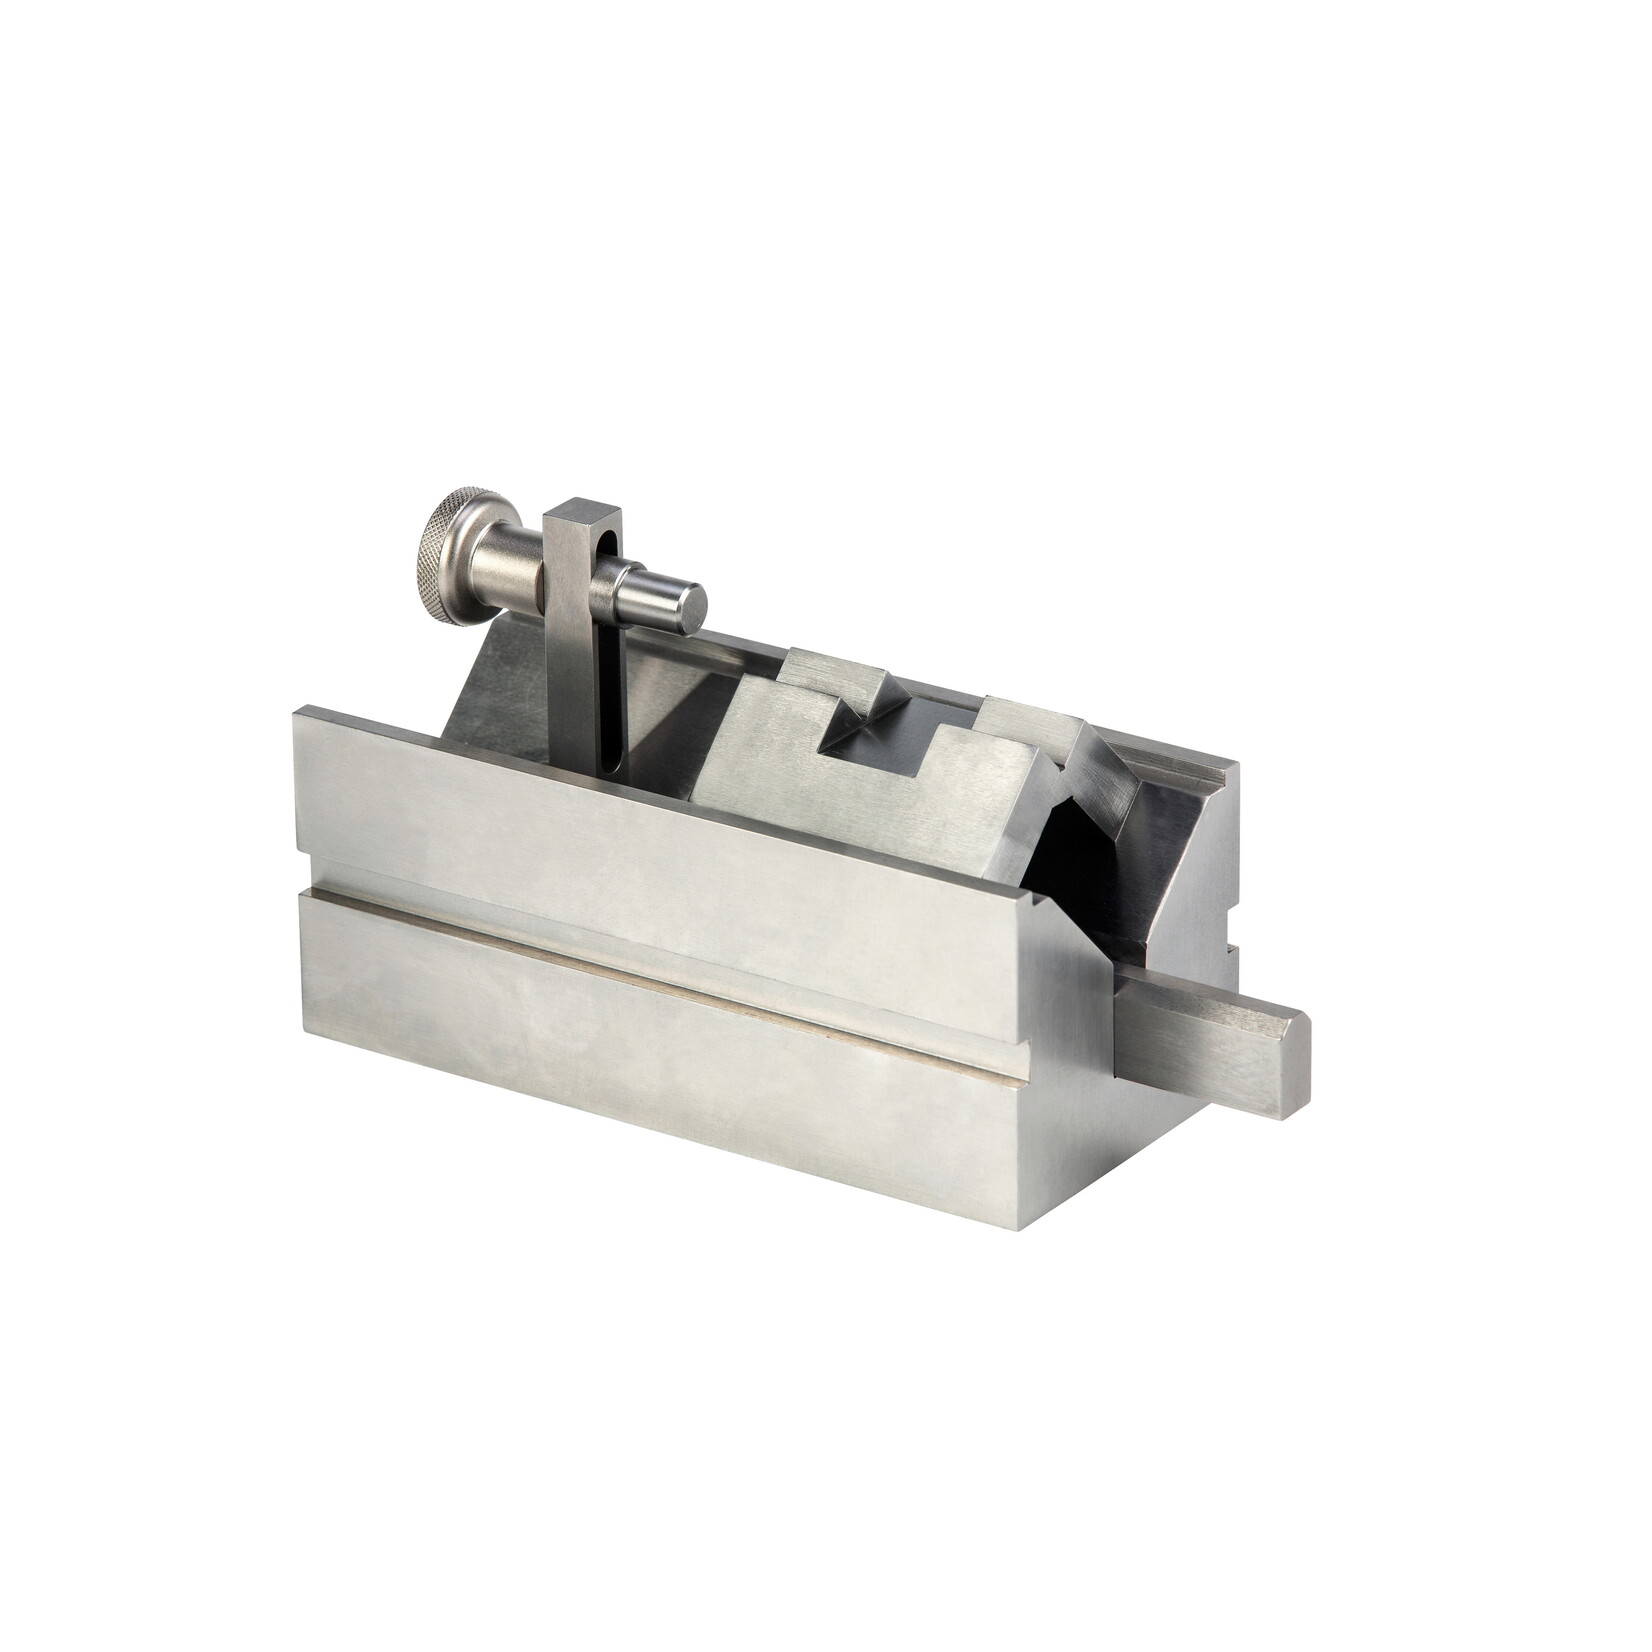
The tool holders: We offer various holders for perfect and, above all, fast positioning of your tools. The CT-12000-D comes with a steel prism with rear stop and insert prism. The Rollomatic Concentricity Pro, HSK holders from Diebold, and other systems are available as options. If you already have these devices, we will be happy to supply you with the appropriate adapter plates for the respective system. Further special accessories are available on request. The universal mounting plate of the CT-12000-D allows you to manufacture your own holders according to your requirements. We will be happy to provide you with the drawing or a step file for the mounting plate.
Technical data:
- Motorized step zoom system, 12x with adapter 0.67x with angled optics prism system) and 0.5x attachment lens
- Z-axis 170 mm – spindle pitch 1 mm with measuring system, resolution 0.001 mm
- X-axis 100 mm – spindle pitch 1 mm
- Y-axis 250 mm – spindle pitch 5 mm with measuring system, resolution 0.001
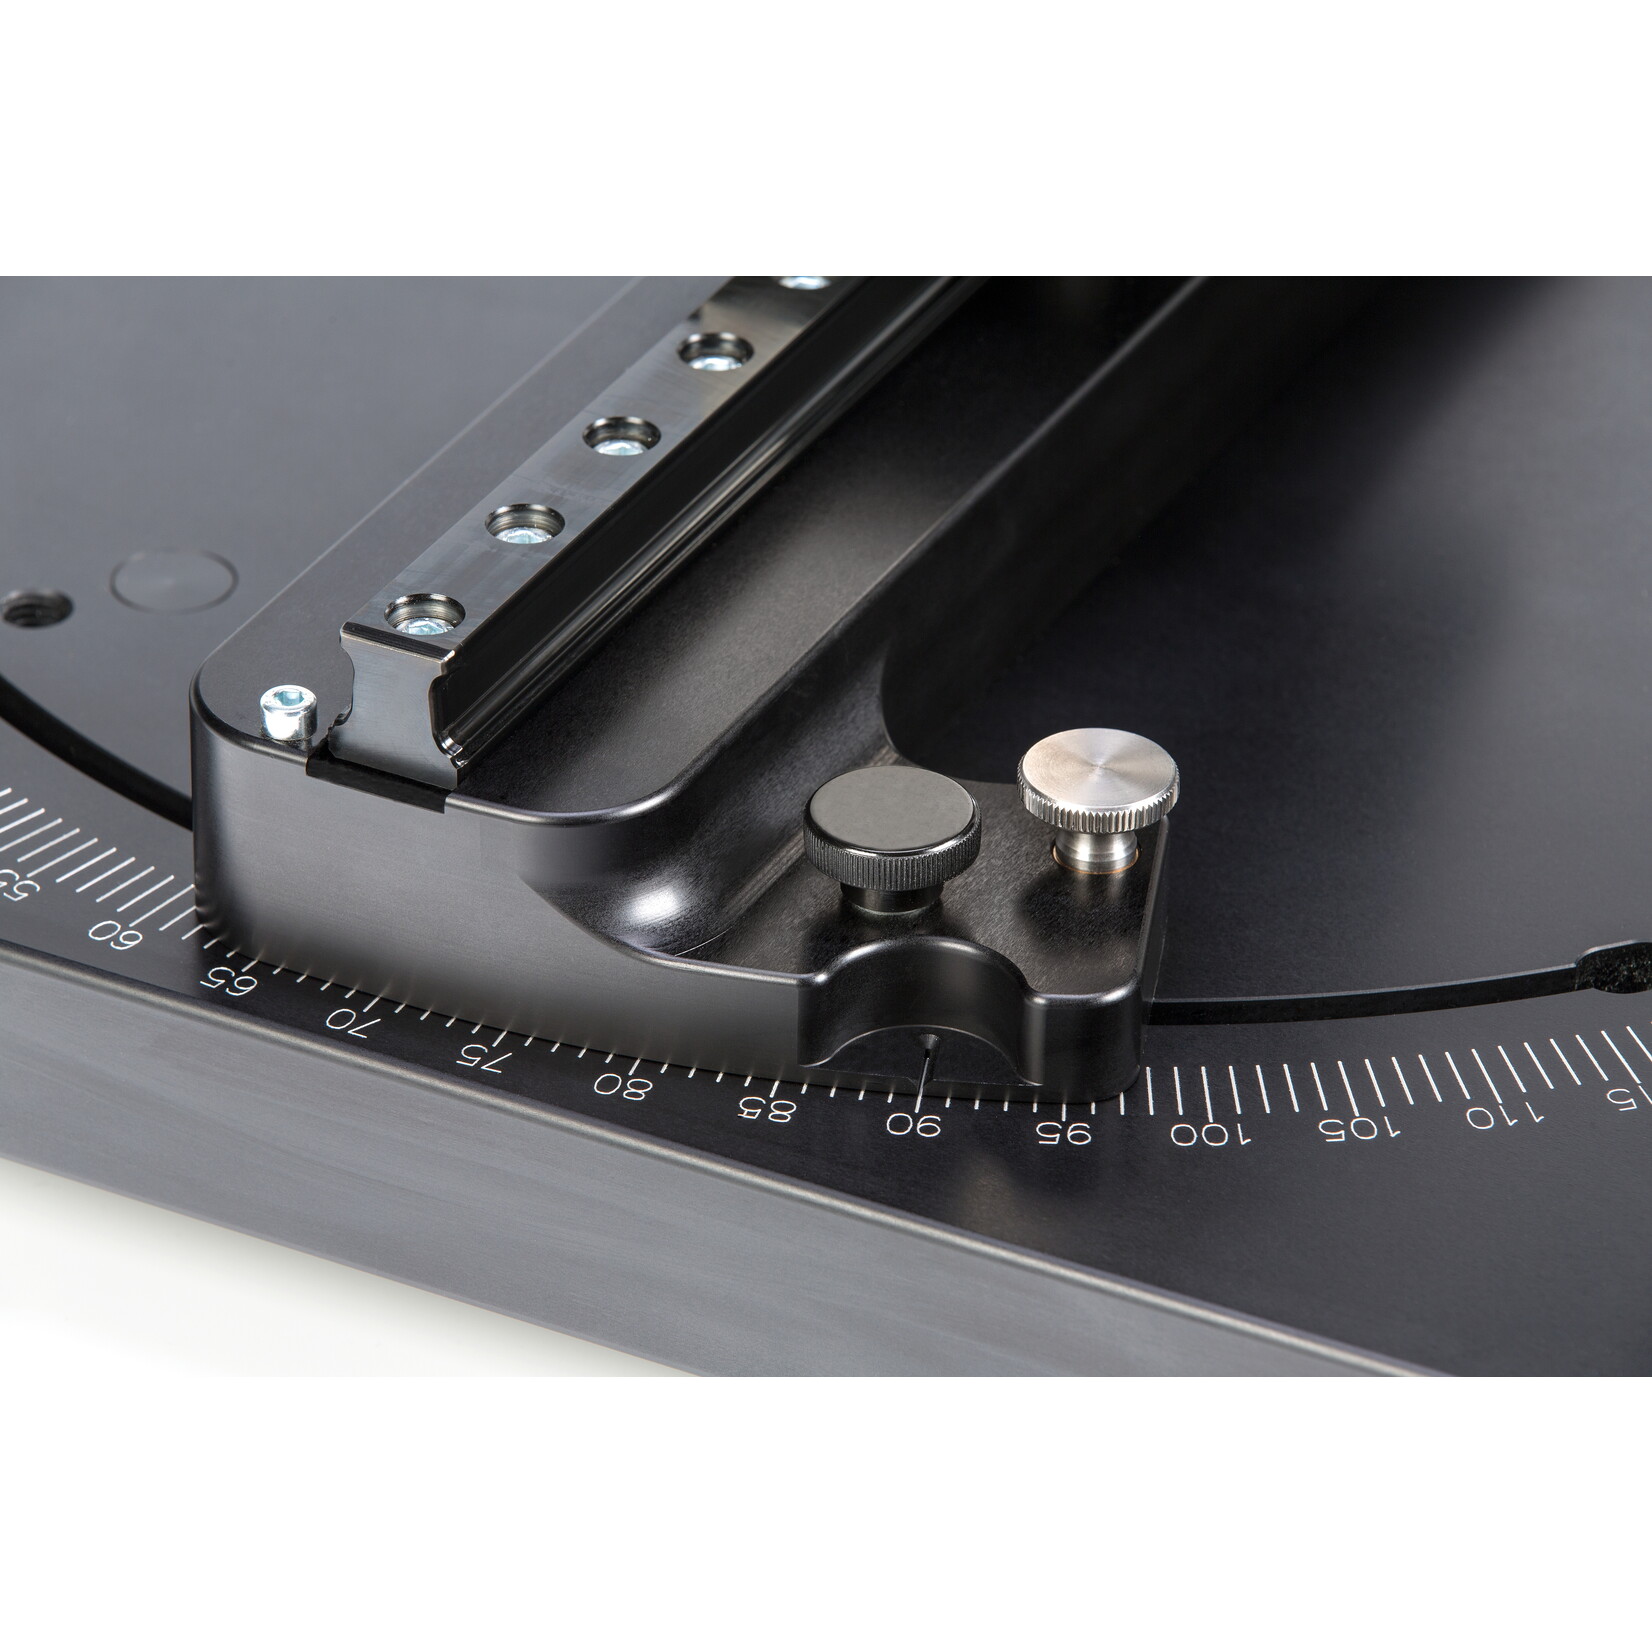
- Rotation axis 280° with 150 mm
- steel insert prism with rear stop and a small steel prism for small tools
- LED cold light source with split ring light and diffuser, movable
- parallel blue rear light for automatic measurements with longer push rod
- Metric MT measuring software
- interface for reading out the measuring systems


